
Create a a New Project
First login to https://dev.azure.com/ and select create a New Project.
Give the new project an awesome name and select if the project needs to be Private or Public. I would recommend starting with a Private project.

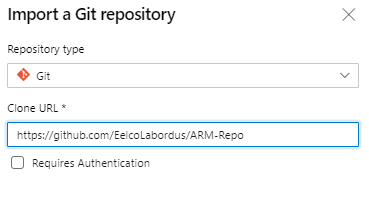
After the project is created you will automatically go to the new created Project. Now we need to clone the git repo from me EelcoLabordus/ARM-Repo (github.com). You need to go to “Repos” and select “Import a repository”.

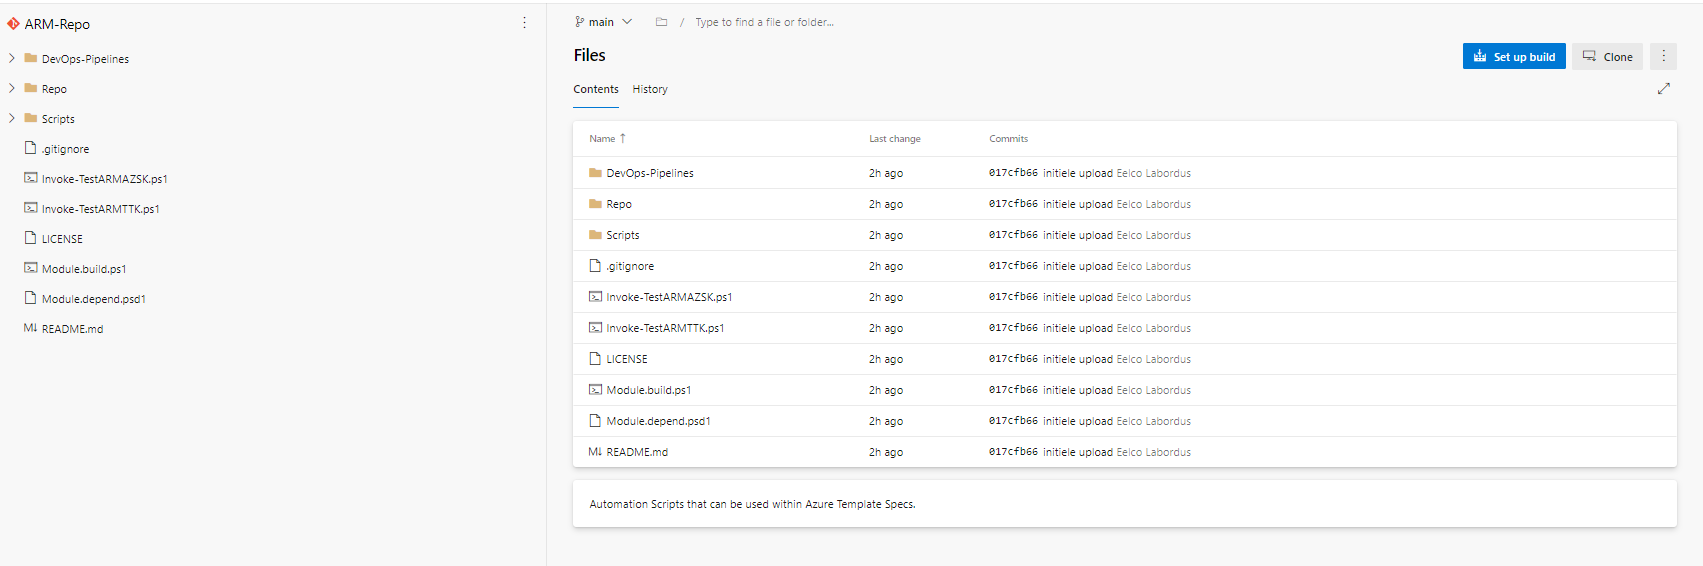
When the import is completed the repository should look like this.
Setting up the Build Pipelines
After importing the Repo you need to setup two build pipelines, the first pipeline is validate the ARM files the second pipeline is again to validate the ARM files and create an Artifect.
First we will go to the repository and “Set up build”
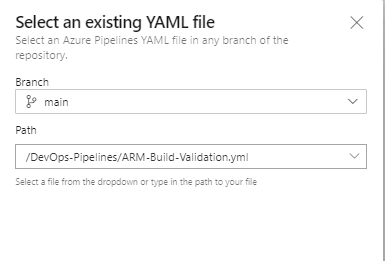
When we import the repository in the correct way we can select “Existing Azure Pipelines YAML file”

First we need to select the ARM-Build-Validation.yml file, this file is used for testing the ARM files before placing the code into the Main/Master branche.
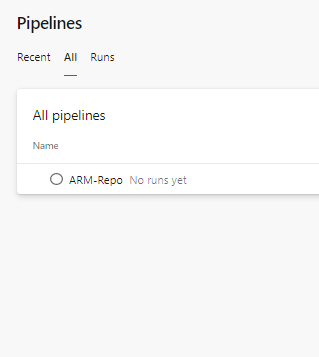
After the build pipeline is imported into the Pipelines it is recommanded to rename this one into “ARM-Build-Validation”. If you will not do this and you will import the other pipeline it is not clear what is what.
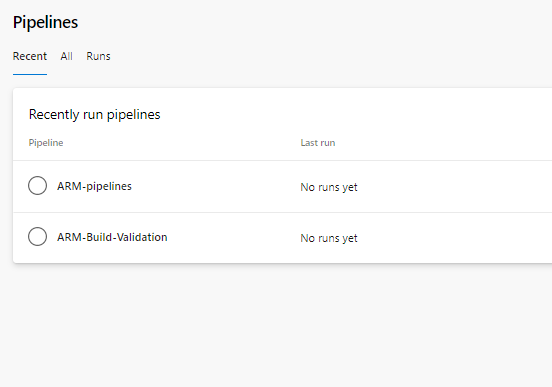
After the first pipeline is imported we need to import the second one “ARM-Pipelines”

And also rename this one to the “correct” one.
Adding the Variables to the build pipelines
Last for the build pipelines we need to setup the module variables, this is the same way as we had set them up with the PowerShell build release pipelines in the other vlog.
This needs to be done on Both build pipelines!!!!!!!!
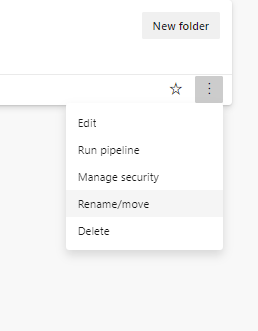
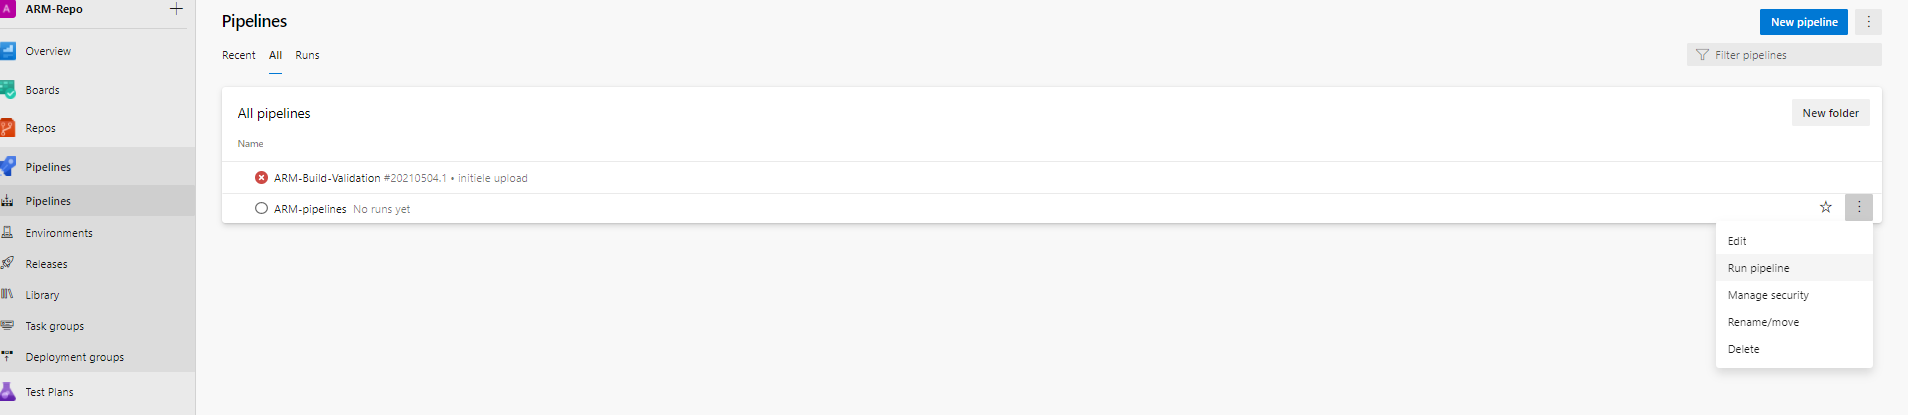
Go to the pipeline and select “Edit”

Next select “Variables”
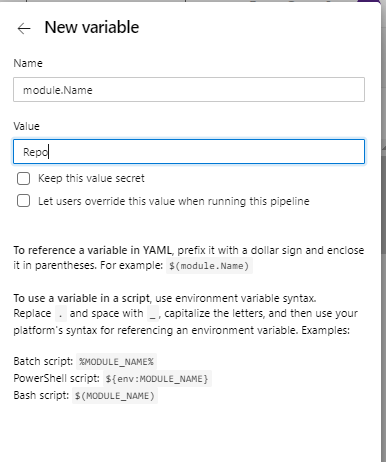
Put in the following information:
- module.Name
- Repo
Setting up Branches
After the build pipelines are added to the configuration we need to add a different branch and setup the workflow for this branch.
This option is optional, you can also edit direct into the Main/Master branch but I wouldn’t recommend this.
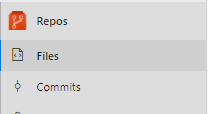
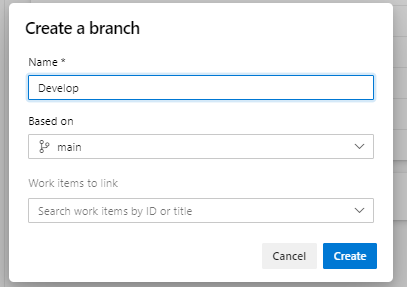
Go to “Repos” and select “Files” after this selected the branches icon and “+ New branche”
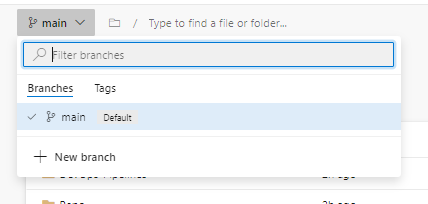
Give the branch the name you want to give, in this example I gave it the name “Develop”
Now we need to setup branch policies, the policies can be used to validate the code that will be uploaded to the Master/Main branch.
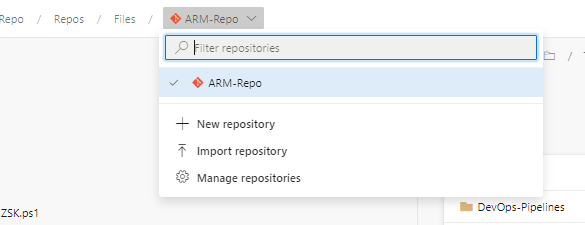
Select the Git repo and go to “Manage repositories”
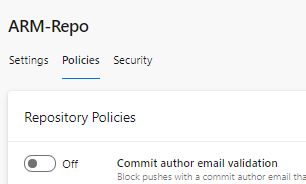
Select the “Main/Master” branche select “Polcies”
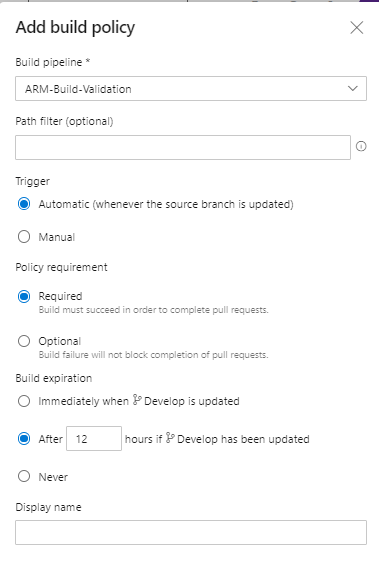
Select “Build Validation” and select the pipeline that was created by previous steps.

Run the pipeline once.
After configuring everything it is recommended to run the ARM-pipelines, this is necessary for the next steps. We need the artifact been created once.
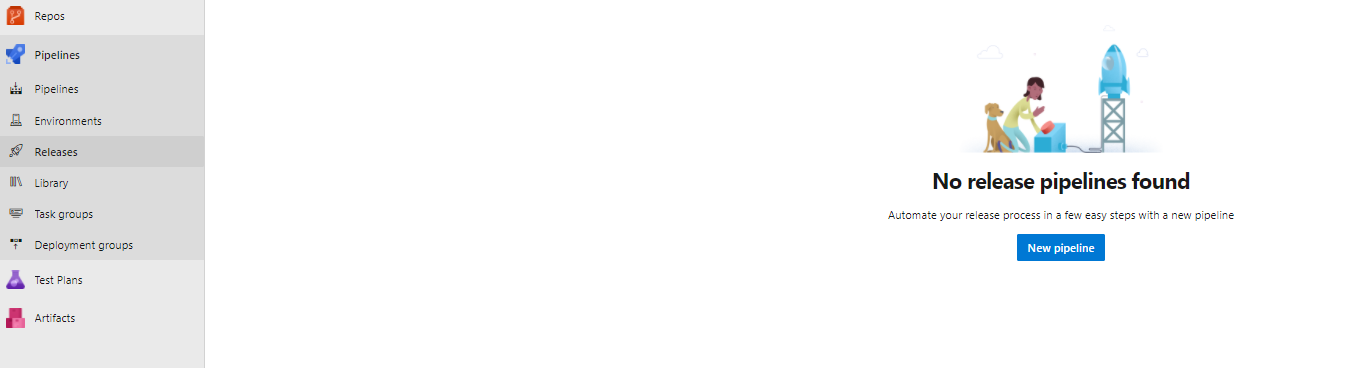
Creating the release pipeline
Last thing we need to do is creating the release pipeline to upload the ARM files into Azure Template Specs.
This release pipeline is the simplest way to configure, for best practices and multiple steps like Dev/Test/Prod environments I would recommend use the internet for that 😊
First create a “New Pipeline”
Select a “Empty job” for this.

Add a artifact to the release pipeline, this is the artifact that is created by the build pipeline.
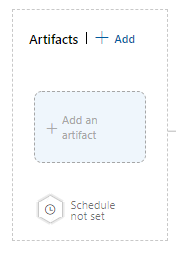
Configure the Artifact with the following information.

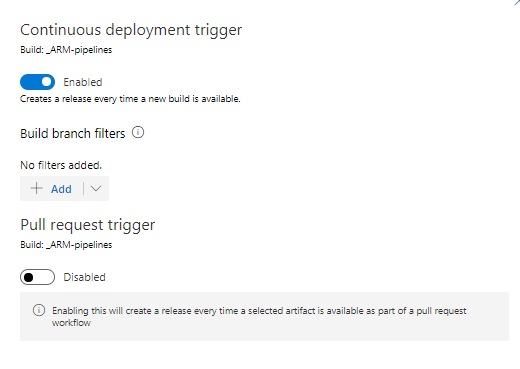
After the Artifact is configured, I recommend enabling Continuous Deployment. Select the lighting button in the artifact window.
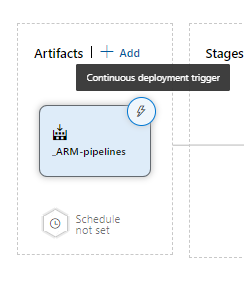
Enable Continuous Deployment.
Now we need to add steps to the first stage.

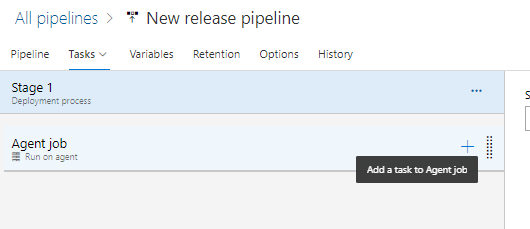
We need to add the “Azure PowerShell” task to the first stage.

After adding the task we need to configure the task with the following information.
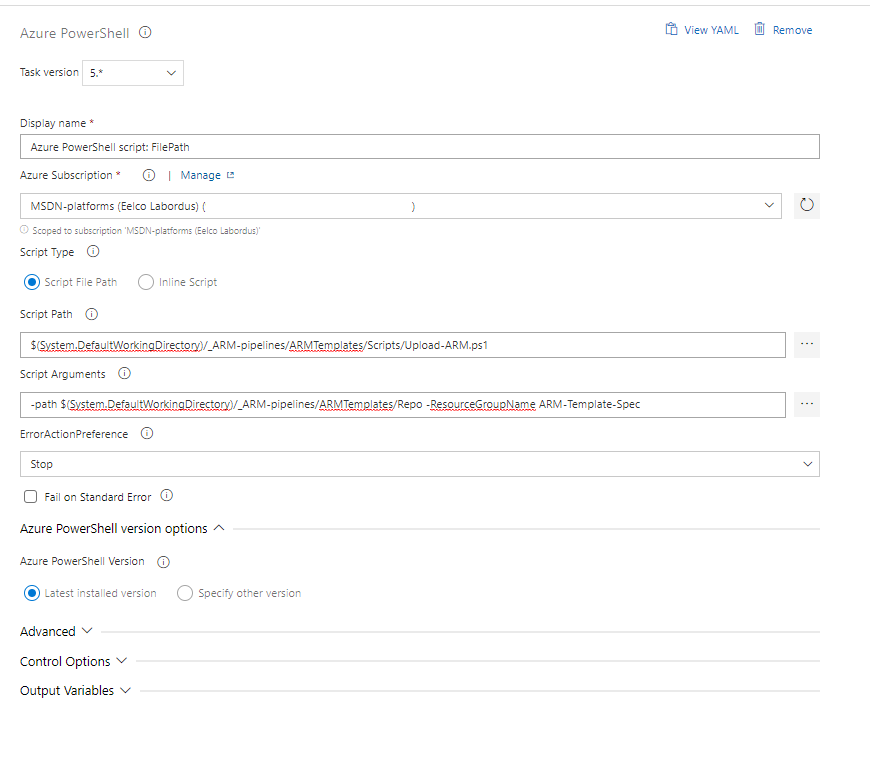
The Script path can be easily selected with the …
$(System.DefaultWorkingDirectory)/_ARM-pipelines/ARMTemplates/Scripts/Upload-ARM.ps1
After you have selected the script, you can use the path to update the location of the Repo, you also need to specify the ResourceGroupName. The ResourceGroupName needs to exist and you need to have the correct permission to write into this group with the Service Principal.
-path $(System.DefaultWorkingDirectory)/_ARM-pipelines/ARMTemplates/Repo
-ResourceGroupName ARM-Template-Spec

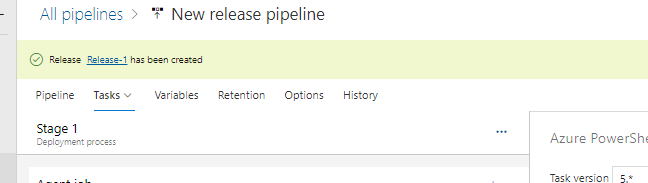
After you have saved the configuration you can manually create a release to test the whole process.

Select Release-1 to monitor the process.

Everything is done, you now have the ARM template in the Template Spec.

Happy ARM scripting.